Mastering Your iPhone: Turning Off SOS on iPhone 13
Your iPhone 13 comes equipped with several safety features, including the Emergency SOS function. This feature can be a lifesaver but might be accidentally activated, causing unnecessary alarm. This article will walk you through the process of turning off the Emergency SOS feature on your iPhone 13. With clear steps and FAQs, you’ll gain the knowledge to manage these settings effectively, ensuring they meet your personal preferences and reduce the possibility of false alarms.
How to Turn Off SOS on iPhone 13?
Disabling the SOS feature on your iPhone 13 involves a few simple steps. Understanding these steps can help prevent accidental Emergency SOS activations, giving you more control over your device. While the feature is vital for emergencies, managing it according to your needs is essential.
It’s important to know how to adjust these settings so they align with your daily usage habits. Whether you want to prevent accidental 911 calls or simply prefer different emergency settings, this easy guide will help you do just that.
Step 1: Access Settings
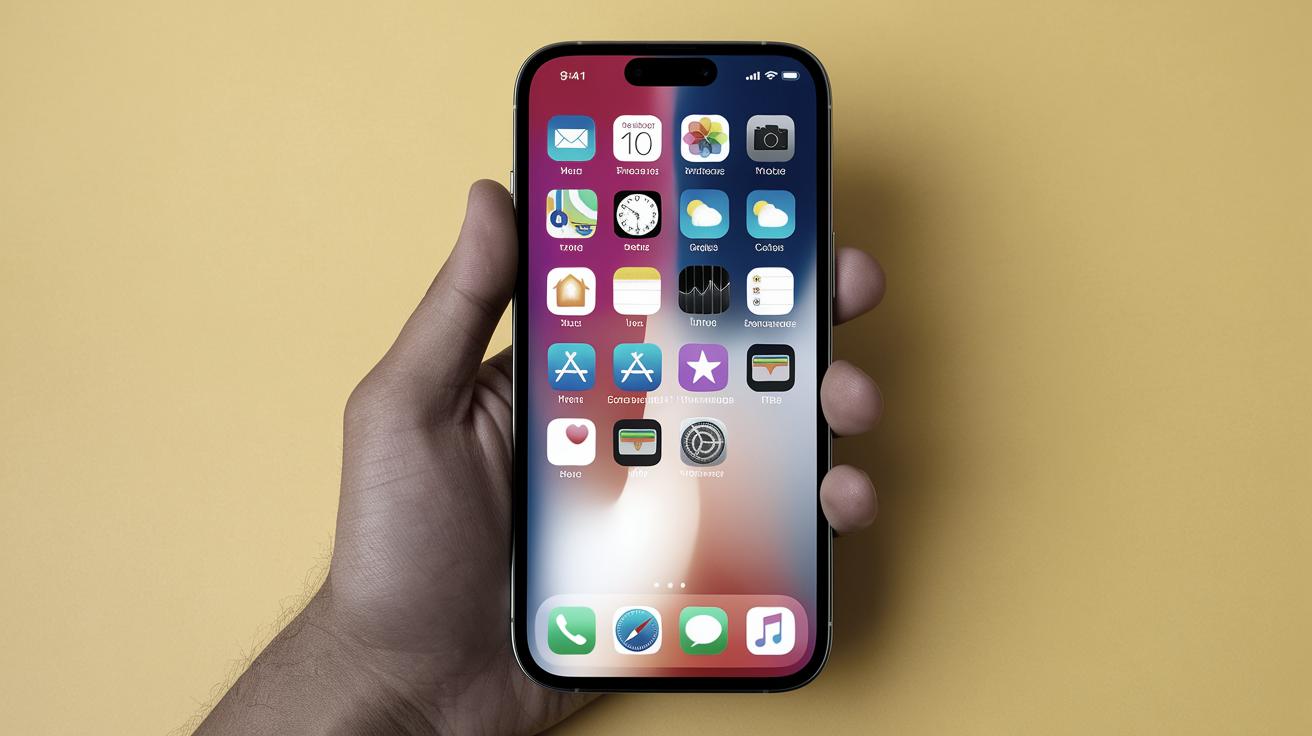
To begin, locate the “Settings” app on your iPhone. It’s typically found on the home screen and can be identified by its gear-like icon. The Settings app is where you’ll access and modify various system preferences, including Emergency SOS.
Upon opening the app, you’ll see a list of settings categories. These categories cover everything from Wi-Fi and Bluetooth to notifications and general settings, serving as the hub for all your iPhone’s configurations. Navigating to the right section is crucial to adjusting the Emergency SOS settings.
Step 2: Locate Emergency SOS
Within the Settings app, scroll down until you see the option labeled “Emergency SOS.” It’s nestled within several other settings options, so it’s advisable to scroll slowly to avoid overlooking it. This section is critical for modifying how SOS functions on your device.
Emergency SOS settings are designed to provide quick access in urgent situations. By understanding its location, you’re one step closer to modifying the defaults to better suit your needs. Bookmarking its location in your mind will also assist you in quickly accessing it in the future for any necessary adjustments.
Step 3: Tap Emergency SOS
Once you’ve located Emergency SOS in the list, tap on it to open the menu. This will display all the SOS-related settings available on your device. Here, you will see options that dictate how and when the SOS feature is activated.
Tapping into this menu will provide a comprehensive view of your current configurations. It’s the starting point for any changes you wish to enact, giving you a glimpse of what’s active at present and what can be altered for improved efficiency.
Step 4: Disable “Call with Side Button”
Within the Emergency SOS menu, locate the option “Call with Side Button.” This feature allows you to quickly call emergency services by pressing the side button five times. While useful in genuine emergencies, accidental activations can occur.
To disable it, simply toggle the switch off. After doing so, pressing the side button five times will no longer initiate an emergency call. This change can decrease the likelihood of unintended calls while still keeping the SOS features accessible for deliberate use.
Step 5: Disable “Auto Call”
The next step involves the “Auto Call” function. When enabled, this feature automatically calls emergency services following the side button trigger. Disabling this can prevent the phone from making a call if the button is pressed inadvertently.
To turn off Auto Call, toggle its switch to the off position. This requires you to manually confirm any emergency calls, giving you an extra layer of protection against unintentional emergency contacts.
Step 6: Toggle off “Countdown Sound”
The “Countdown Sound” is an audible alert that plays before an emergency call is placed. It serves as a final warning to cancel the call in case of accidental activation but can itself be the source of confusion or alarm.
Booting into the Emergency SOS settings allows you to toggle this off. By doing so, future accidental button presses will be silent, keeping any false alarms lower profile while minimizing unnecessary stress or panic.
Step 7: Turn off “Call with Power Button” (Optional)
This step is optional but recommended for those who want to take an extra measure. Turning off the option to “Call with Power Button” adds another layer of precaution against unintentional calls. It’s found within the same menu.
For those not needing this level of connectivity in emergencies, switching this off can ensure your device only calls when absolutely necessary. Experiment with this setting to find the right balance between convenience and security aligned with your personal needs.
Step 8: Review Your Settings
With the changes made, it’s crucial to review the settings to ensure they align with your preferences. Double-check that each toggle is configured as planned, verifying that accidental triggers will indeed be minimized.
This quick review reduces the chance of future surprises and reassures you that your device settings have been appropriately customized to your expectations. Remember, these can always be adjusted again if circumstances change.
Step 9: Confirm Changes
Upon ensuring that your settings are accurately configured, exit the Emergency SOS menu. The iPhone automatically saves these changes, so there’s no additional confirmation needed on your part.
Your device is now set according to your updated preferences. These adjustments ensure a more controlled interaction with your emergency call settings, further empowering you in managing your device’s functions responsibly.
Step 10: Test the Changes
After making your adjustments, consider conducting a test to verify their effectiveness. Be cautious—do not actually call emergency services. Simply simulate the actions that would usually activate the SOS to ensure they no longer do.
If everything is set correctly, your device should not respond aggressively as it might have before. At this stage, your iPhone should reflect the newly configured settings, offering peace of mind and controlled usage.
Frequently Asked Questions (FAQs)
Q: Can I still call emergency services manually?
A: Yes, disabling these automatic features does not affect your ability to dial emergency numbers manually. You will have full manual access to call whenever necessary.
Q: Can I adjust these settings again later?
A: Absolutely, the steps outlined can be reversed or altered at any time. Your iPhone is designed for flexibility to adapt its features to your needs as they evolve.
Q: Will disabling these settings void my warranty?
A: Modifying these settings doesn’t affect your warranty. They are standard user settings provided by Apple for everyone’s customizable experience.
Future prospects
| Step | Action |
|---|---|
| Step 1 | Access Settings |
| Step 2 | Locate Emergency SOS |
| Step 3 | Tap Emergency SOS |
| Step 4 | Disable “Call with Side Button” |
| Step 5 | Disable “Auto Call” |
| Step 6 | Toggle off “Countdown Sound” |
| Step 7 | Turn off “Call with Power Button” (Optional) |
| Step 8 | Review Your Settings |
| Step 9 | Confirm Changes |
| Step 10 | Test the Changes |